

I'm back with another quick and easy salad recipe! I recently went to a local farmers market with my mom and aunt and came back 5 pounds of beautiful, heirloom tomatoes (I am also working on another post about the other farmers market goodies so be on the lookout for that!). They were all super ripe and ready to go so I had to come up with some quick ways to prepare them. For this recipe I only ended up using one of the six tomatoes that I got because it was so HUGE! You could totally substitute multiple smaller Roma tomatoes, a pint of cherry tomatoes, or whatever else you have on hand. **Be sure to check out the two bonus tomato recipes at the bottom!**
- 1 BIG tomato, or several smaller. This would also be great with cherry tomatoes
- 1 bunch of cilantro chopped (about 1/4 cup)
- 2 or 3 green onions chopped (about 1/4 cup)
- Half of a large avocado or a whole small one
- Season with salt and any other spices you like (such as cumin)
- Be grateful to your local farmers and ENJOY! :)
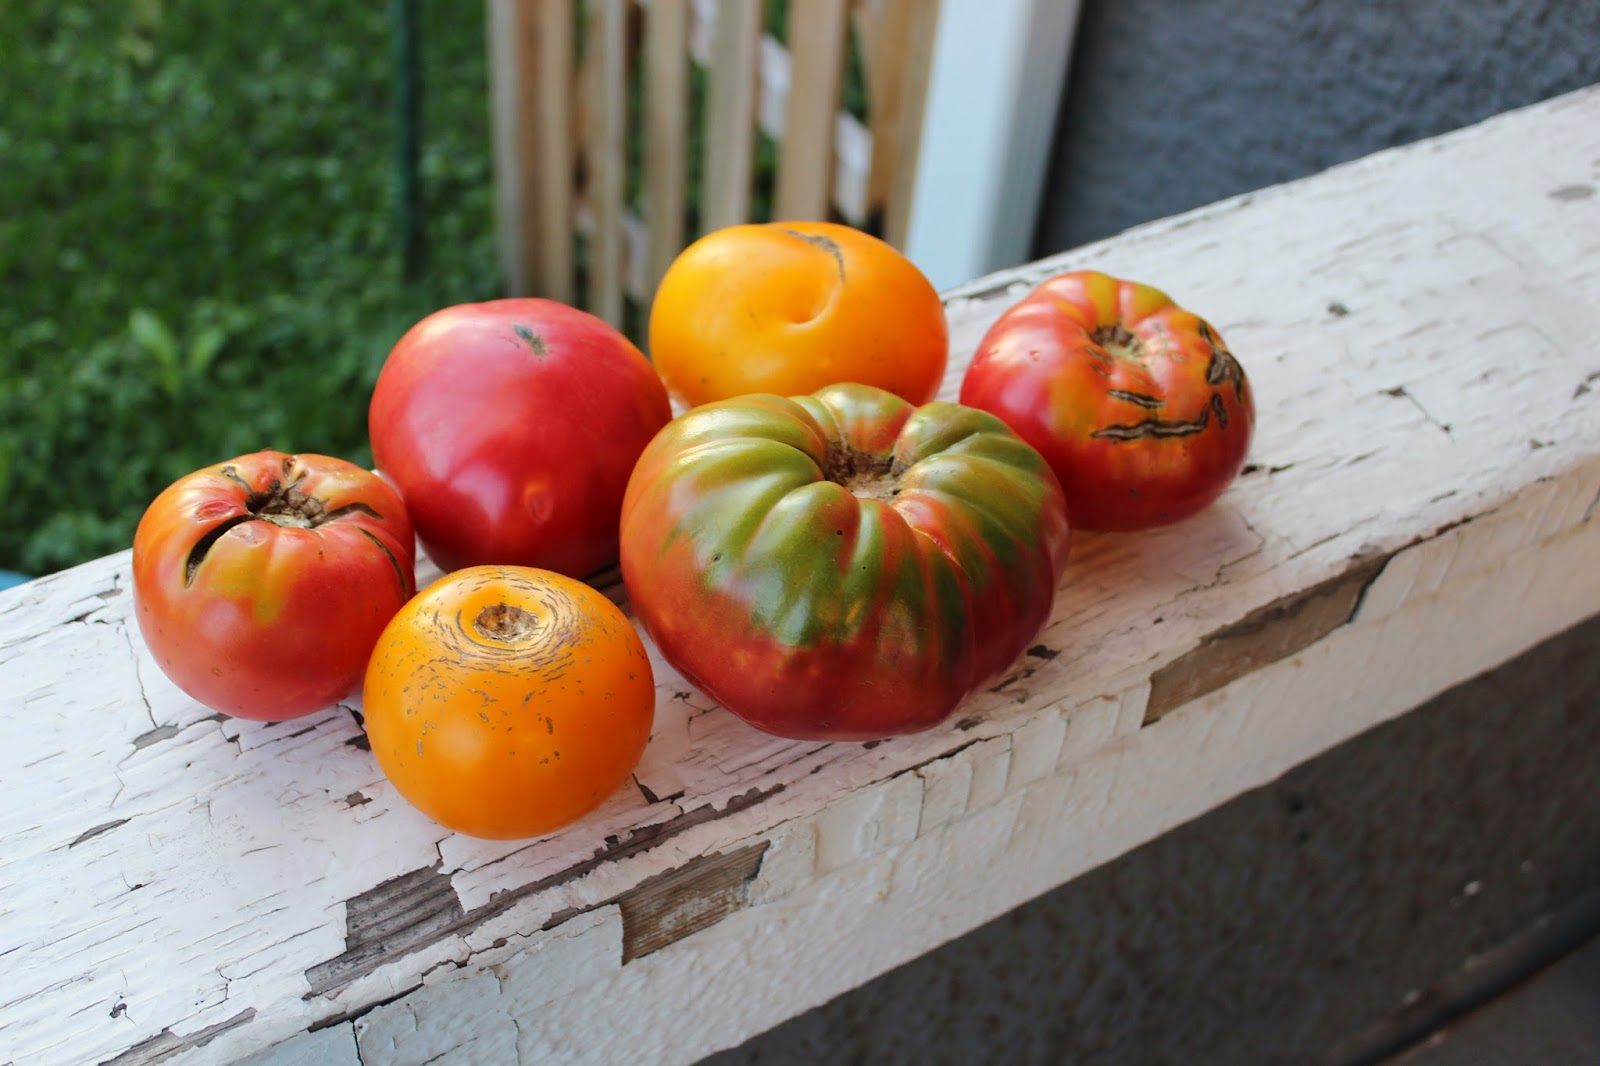


 |
| Tomatoes as big as yo face!! |


Since I still had a lot of tomatoes left over I made a few other quick tomato meals including a SUPER easy "Gazpacho" and my take on Tabbouleh / Tabouli (sp?). Unfortunately I don't have a picture of the gazpacho but it was literally just diced up tomatoes with garlic and salt so you're not missing much.
So to finish up the rest of the tomatoes I diced them all up in to smallish/medium sized chunks then placed them in a big bowl, making sure to get all the juices from the cutting board to the bowl. Since I had 5 pretty large tomatoes I'm estimating this ended up being about 5 or 6 cups once diced. I then added about 3 cloves of garlic, minced. This was the base for both the "Gazpacho" and Tabbouleh. After making the multi-purpose tomato 'Base' I just had to add a few finishing touches to achieve the two separate dishes. These recipes are below :) P.S. I only list the ingredients (not the method) because for both of these I literally just combined all the components in a large bowl and mixed - super simple!
4 Ingredient "Gazpacho" Recipe:
- 1/2 of Tomato Base mentioned above, plus the majority of the liquid from this base (about 3 cups of diced tomatoes and 1.5 cloves minced garlic) -> I used all the liquid from the tomato base since I was going for a soup/gazpacho consistency, and my second recipe (the Tabbouleh) doesn't require any additional tomato juice or liquid
- 1/2 cup chopped parsley
- 1/2 to 1 tsp. coarse salt (depending on how salty you prefer it)
Fresh and Delicious Tabbouleh
- 1 cup (measured dry) of Freekeh or Bulgar cracked wheat (I like Freekeh because it sounds like FREAKY haha - the brand I used is Village Harvest Organic $10 for a 3 pound bag at Costco) >> combine with 2 and 1/4 cups of water and bring to boil, reduce to simmer, simmer covered for 12 mins, then remove from heat and let sit (still covered) while preparing other ingredients
- Remaining 1/2 of Tomato Base (about 3 cups of diced tomatoes and 1.5 cloves minced garlic)
- Juice of 2 Lemons (about 5 Tbsp - you can use less but I like it really lemony)
- 1 large Cucumber (I used the English / Hothouse variety b/c I prefer the thin skin and small seeds)
- 1 and 1/2 cup chopped Parsley (I know this sounds like a lot, but for good Tabbouleh you need it!)
- 2 Tbsp Olive Oil (this can be omitted if you want it to be oil free)
- Salt & Pepper to taste (about 1tsp pepper and 2 tsp salt)
- Optional: additional minced or granulated garlic for added flavor. A 1/4 cup of chopped Dill is another great addition!


